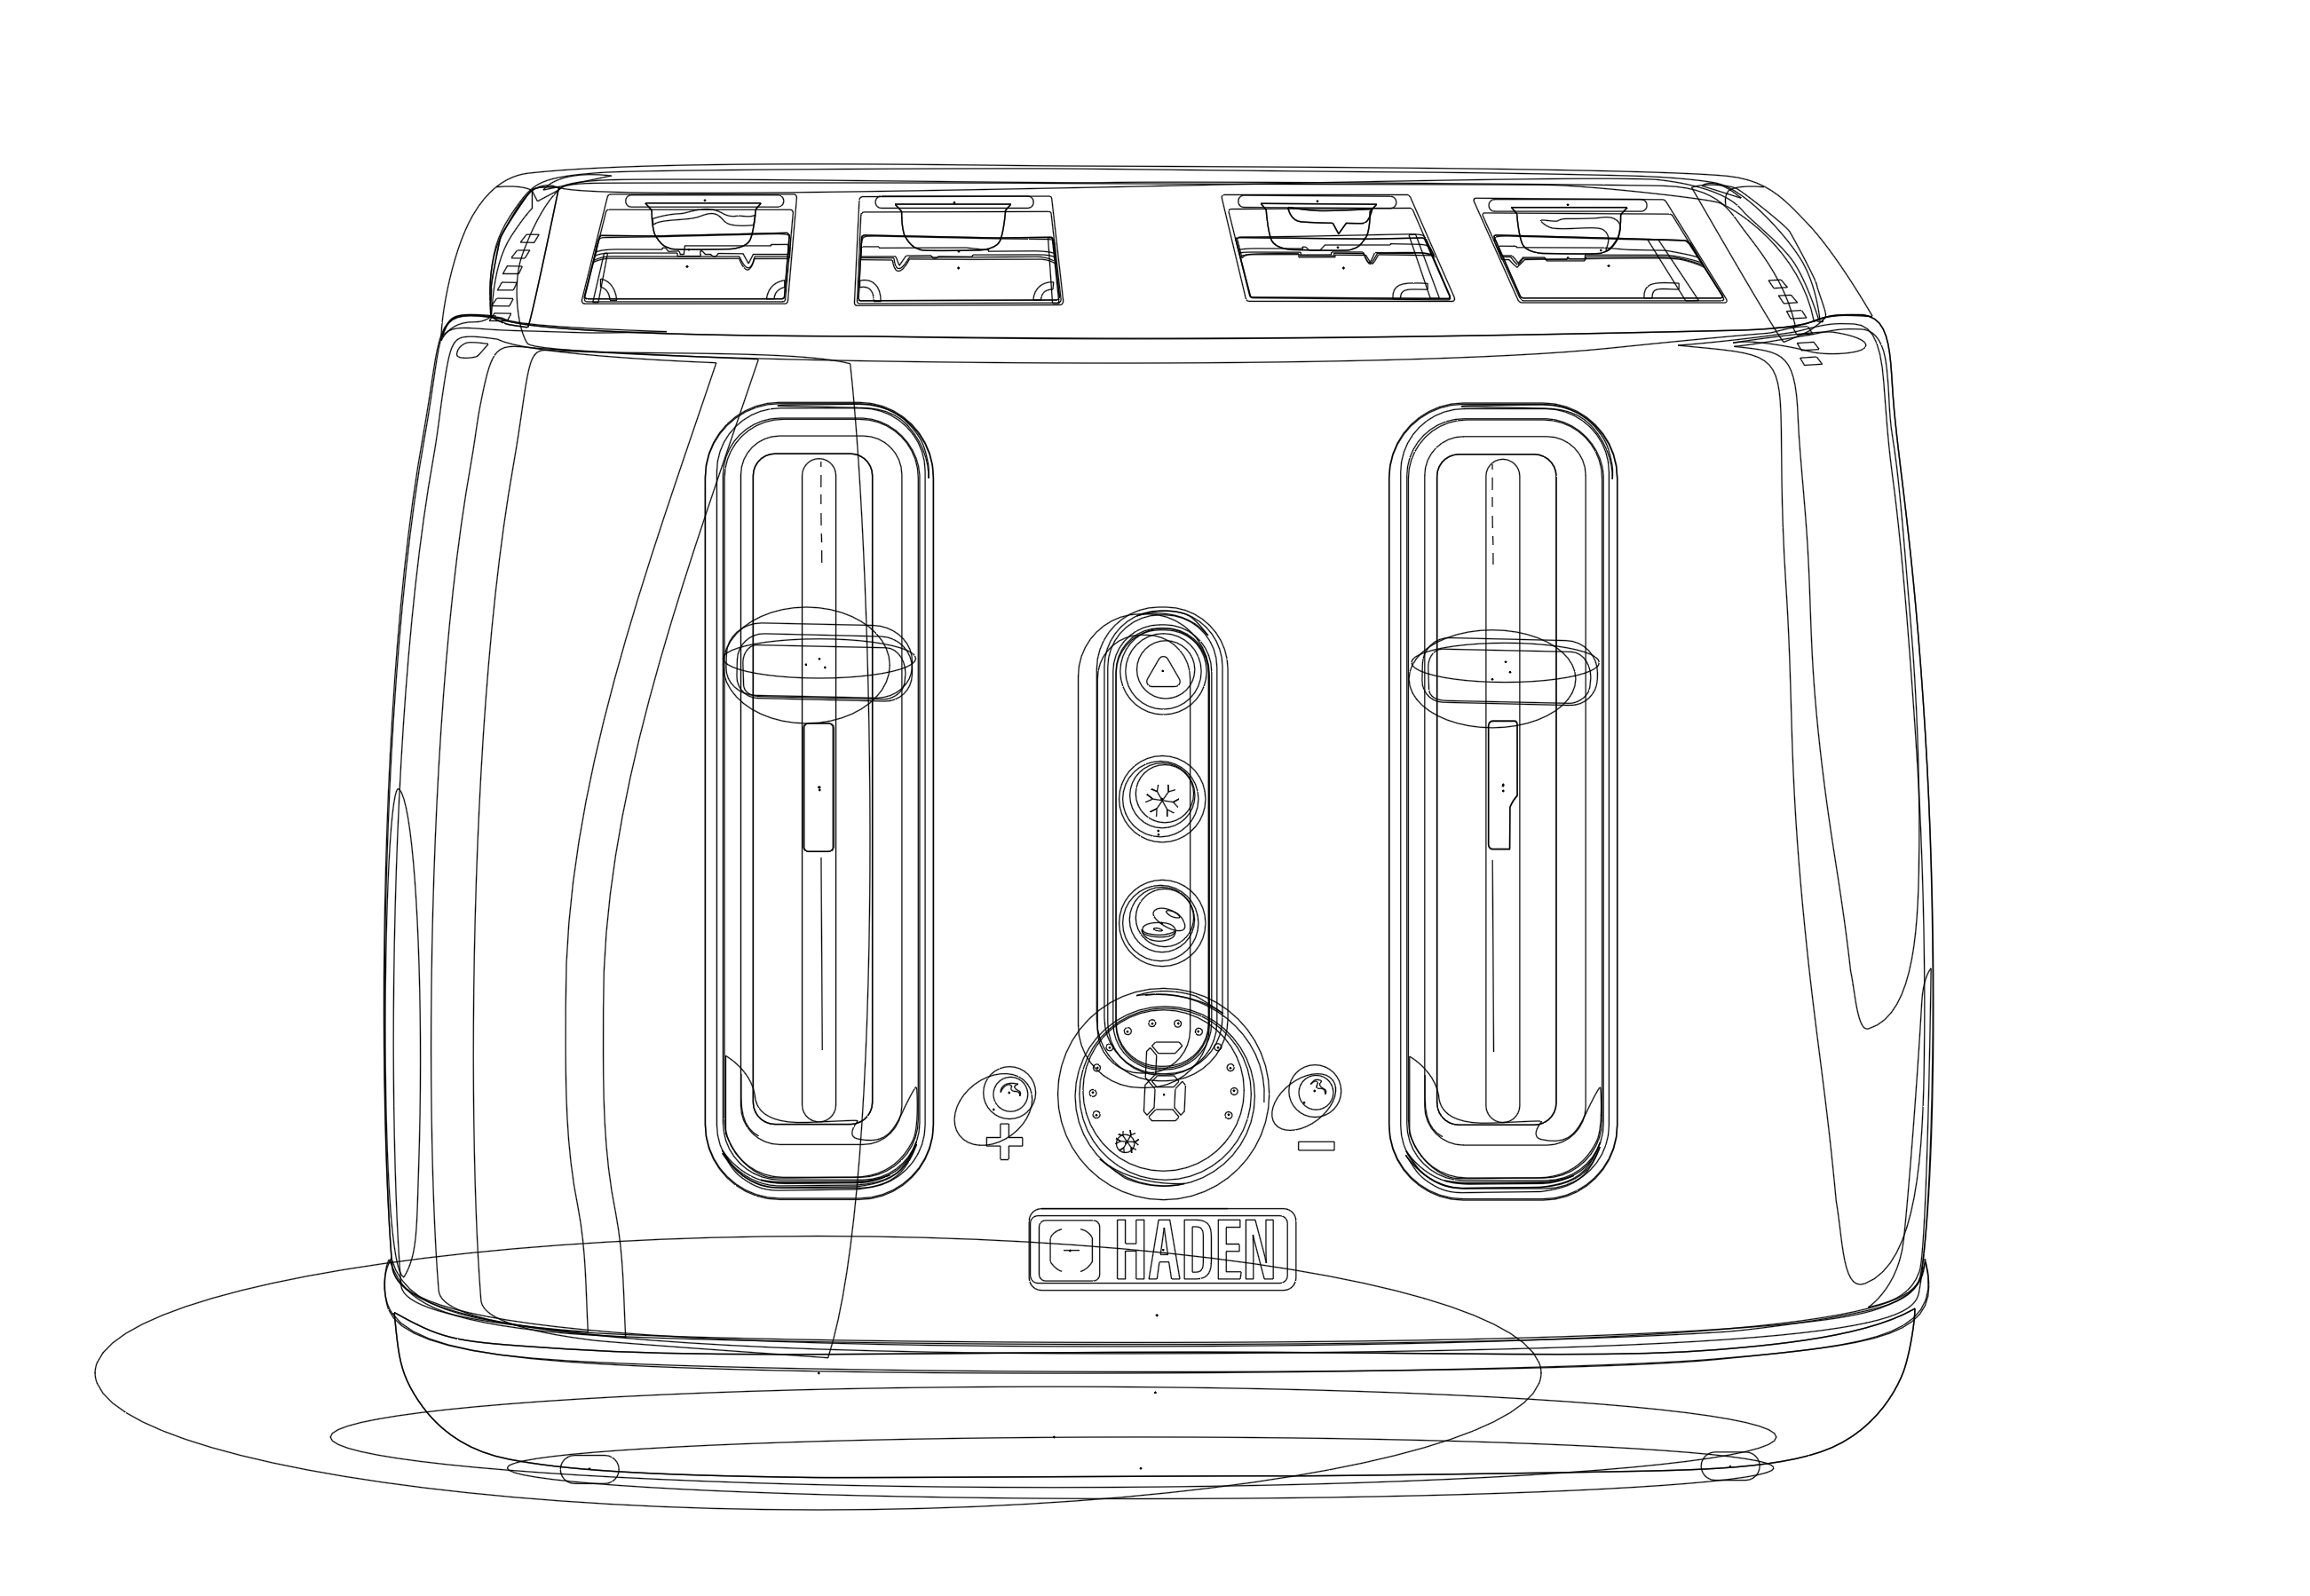
The goal was to create a photorealistic drawing of a mechanical object using Adobe Illustrator materials covered in the Illustration for New Media course. The main purpose of the assignment was to gain skill in the usage of basic shapes, pen tool, transformation functions, pathfinder functions (or Shape Builder), global swatches, and gradients.
Brainstorming Process
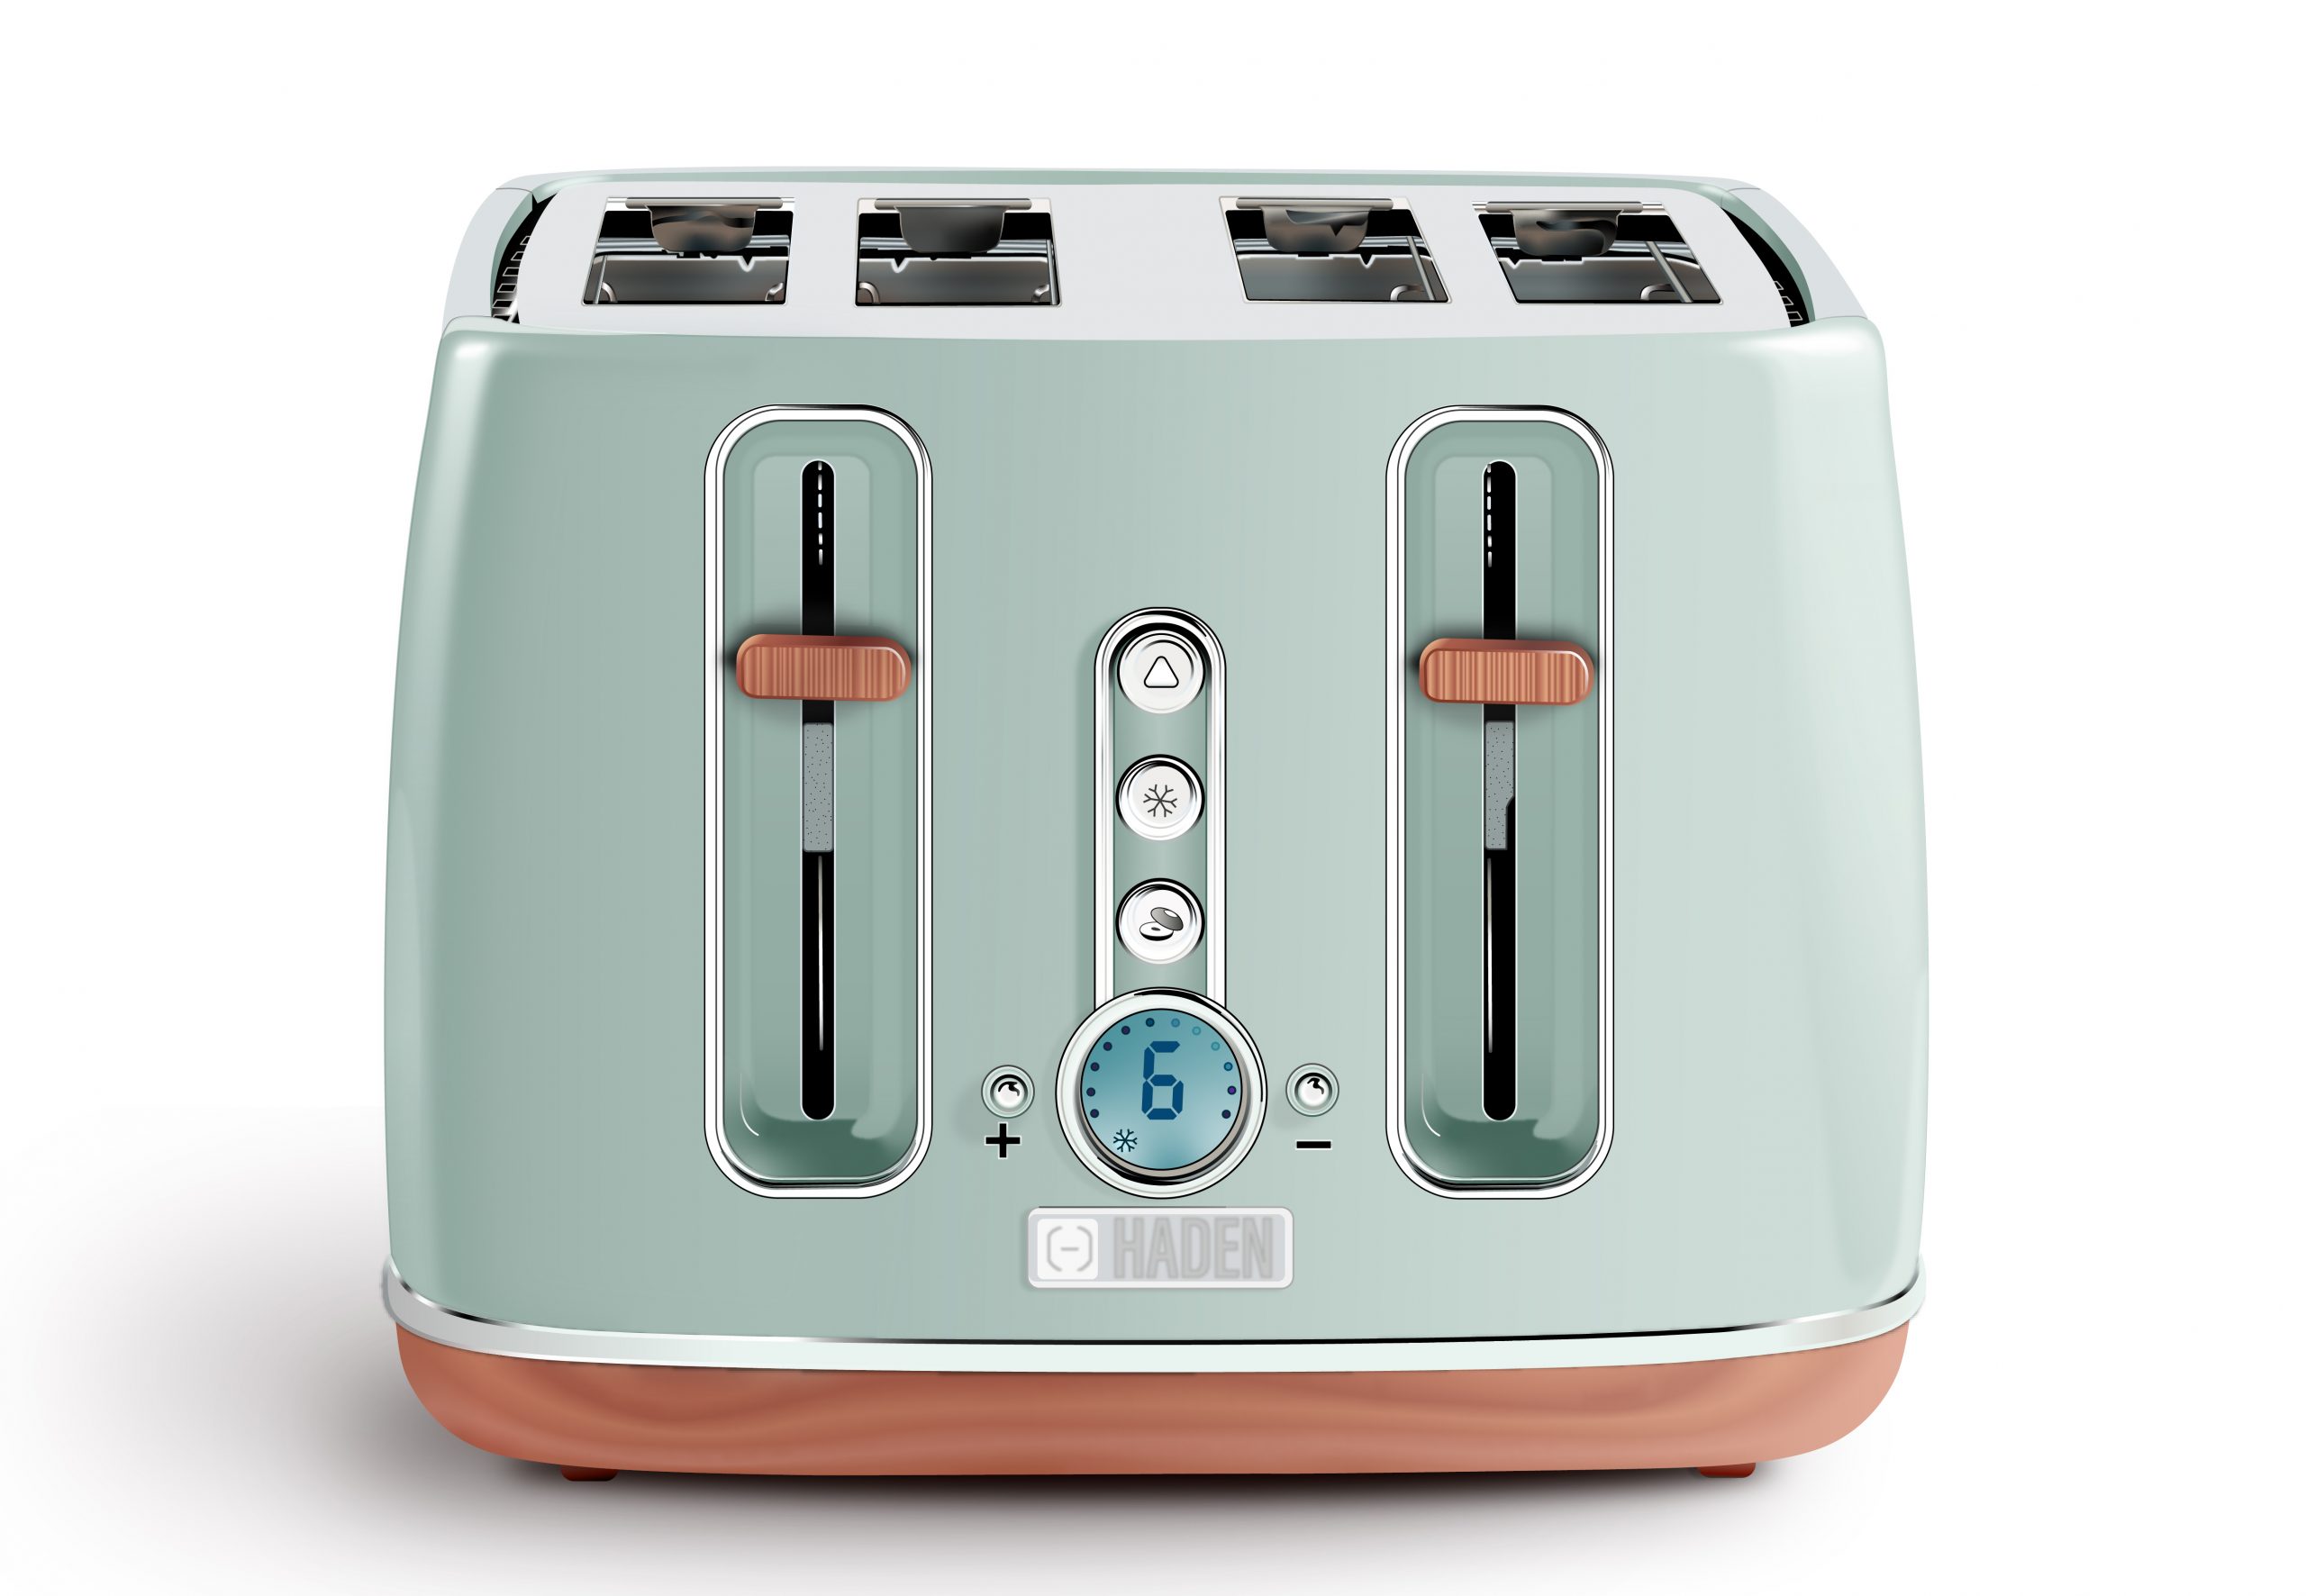
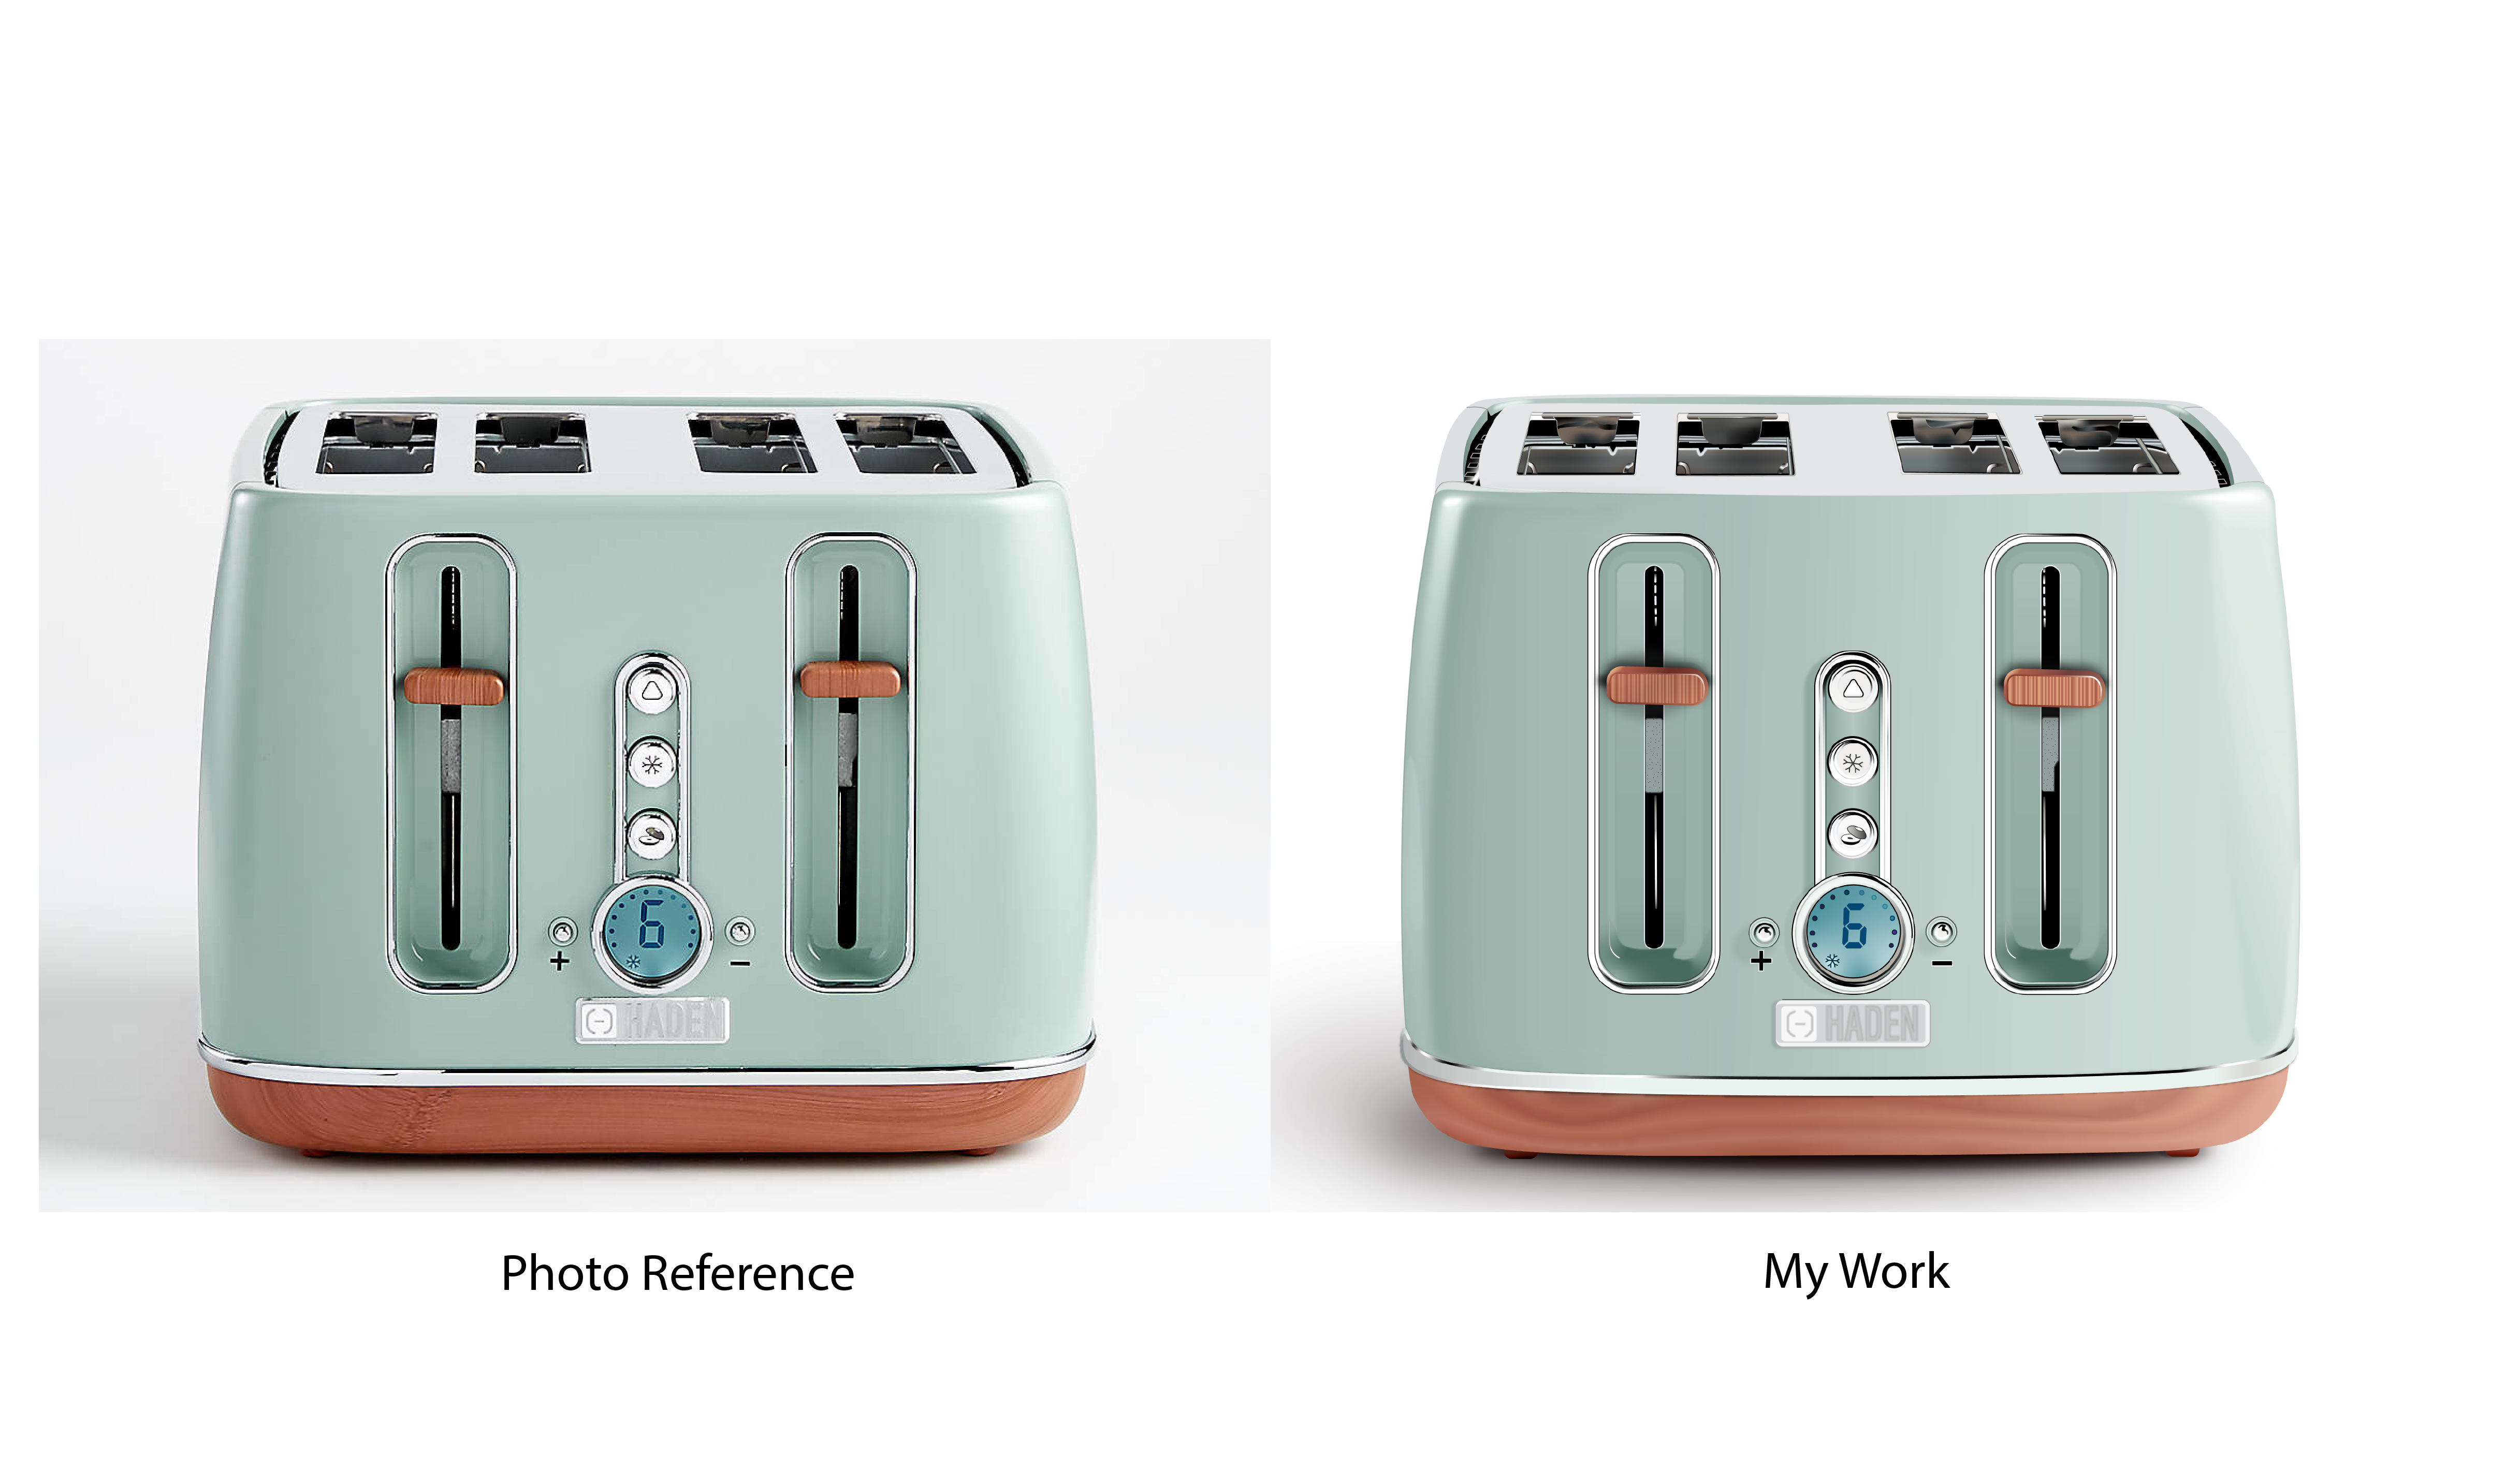
To start with the assignment, first I needed to gather some examples of photos of objects I would like to try to recreate. I chose three pictures and upon the instructor’s approval decided to work with the photo of the HADEN toaster. The object didn’t have too many details, but I decided to try to make it look truly photorealistic.
Drawing Process
It was advised to build the global colours first (meaning that the same colour is being used across the work and if some changes in the object’s colours were needed, it was possible to make in a fast and effective way), and then use them to colour the drawing. Unfortunately, I did the opposite and first created a drawing. As I went through the process, I used a lot of separate colours instead of tints of the same colour, which later cost me a lot of time and effort to organize the palette correctly.
Edits to Drawing
After submitting my completed drawing I got very positive feedback from the instructor. I didn’t have to make any improvements or edits to my work, but I had to make sure all the colours used were global. As I didn’t do so from the very beginning, I had to spend several hours organizing the colours.
Source References
Source of the object’s photo reference: https://www.crateandbarrel.ca/haden-silt-green-dorchester-toaster/s646976